
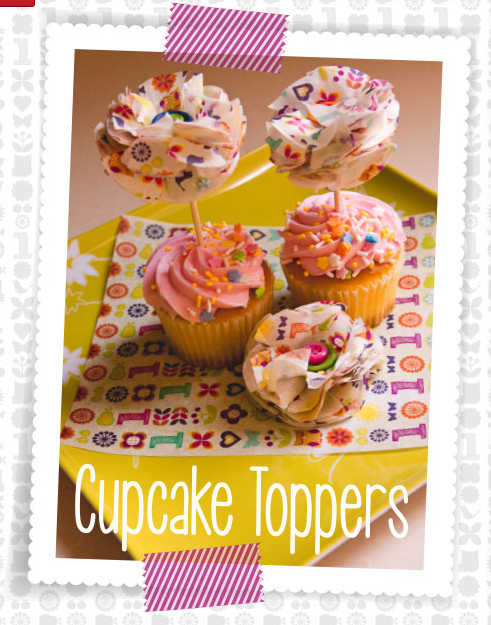
Need a unique idea to set your upcoming birthday party or shower apart? Tissue paper cupcake toppers might be just the thing. While the pictures look like they are for crafters only, with the right supplies and a little time, you could pull these off in just a short amount of time! Check out our simple step by step instructions below:
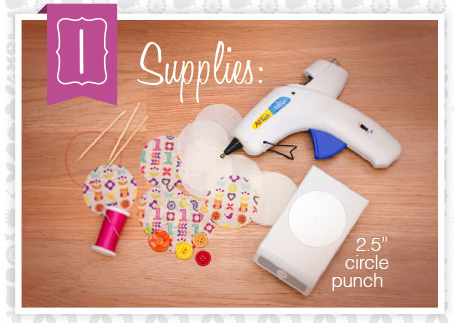
1. Gather supplies: You’ll need:
- Tissue paper. Choose extra-special personalized custom tissue paper, or tissue paper to match your theme here.
- A hot glue gun
- Tooth picks
- A 2.5″ circle punch
- Needle and thread
- Scissors
- Buttons, ribbon, or whatever you’d like to use to adorn the center
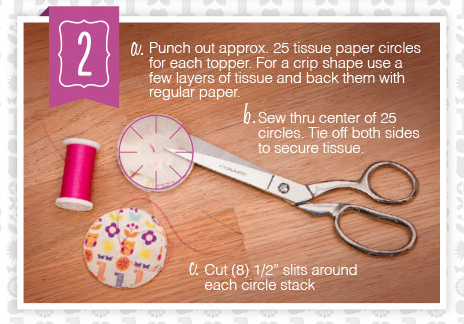
2. Create the circles:
a. Punch out around 25 tissue paper circles for each topper. For a crisp shape, use a few layers of tissue paper and back them with regular paper.
b. Sew through the center of 25 circles. Tie off both sides to secure the tissue.
c. Cut (8) 1/2″ slits around each circle stack
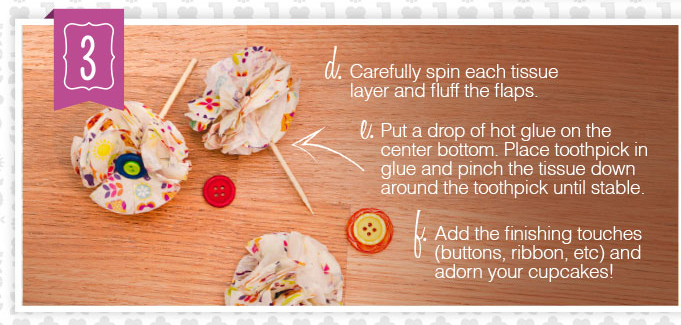
3. Assemble the toppers:
d. Carefully spin each tissue layer and fluff the flaps.
e. Put a drop of hot glue on the center bottom. Place a toothpick in the glue and pinch the tissue down around the toothpick until it is stable.
f. Add the finishing touches (buttons, ribbon, etc.) and adorn your cupcakes!
Try pulling the whole party together with a custom tissue paper design. Create these cupcake toppers, a bunting wall hanging, a piñata, and wrap gifts with the paper! Check out a Wreck-It Ralph party where the entire theme was built around a custom tissue design.
Order your party or shower’s custom tissue paper today!